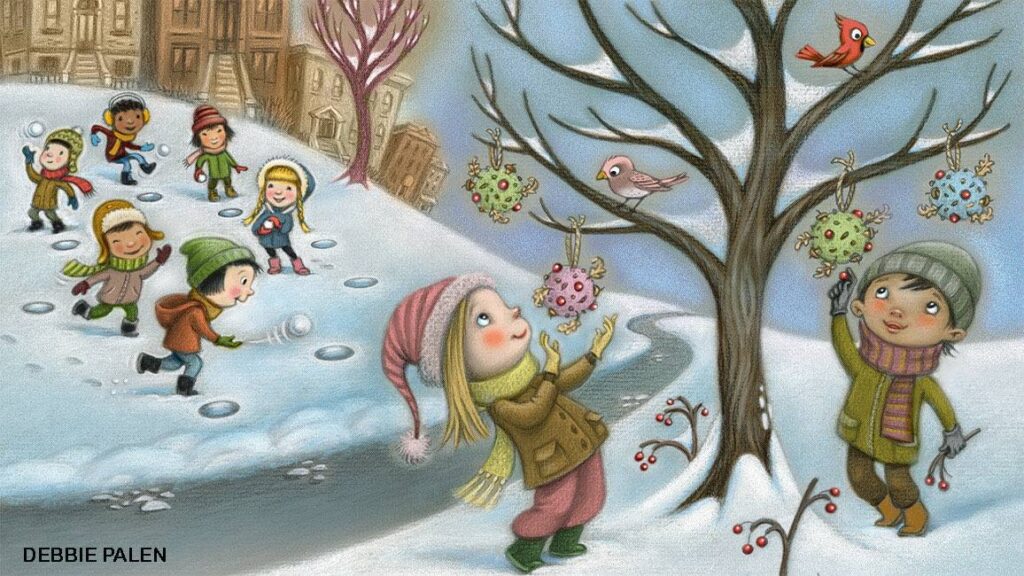
Is the world outside icy cold and covered in the fluffy white stuff? That’s no excuse for staying indoors. These snow day activities for kids turn a winter wonderland into a full day of outdoor adventure, from tracking wildlife to building snow forts to making a frozen treat you can actually eat.
Materials
Most of these activities need nothing but snow. For the full lineup:
- Camera or notebook (for wildlife tracking)
- Plastic storage containers (for snow bricks)
- A medium-sized bowl (for snow golf)
- String and food coloring (for snow ornaments)
- Natural materials: sticks, stones, leaves, acorns, berries (for snow creatures)
- Berries, sugar, and cream or juice (for snow slushy)
No special gear required. Just dress warm: waterproof boots, snow pants, warm gloves, and layers.
Steps
Activity 1: Track Wildlife in the Snow
Fresh snow is like a blank page, and every animal that crosses it signs its name.
- Head outside after a fresh snowfall. Look for tracks in the yard, along fences, near bird feeders, and at the edges of wooded areas.
- Study what you find. How deep are the tracks? How big? Do they show claws or just pads? Do they travel in a straight line or zigzag?
- Follow the trail. Where did the animal come from? Where did it go? Can you find where it stopped to eat, dig, or rest?
- Record your discoveries. Sketch the tracks, photograph them, or measure them with a ruler. Use a field guide or search online to identify the animal.
Common snow tracks to look for: squirrel (paired prints, bounding pattern), rabbit (big hind feet in front of smaller front feet), deer (two-toed hoofprints), bird (three-toed scratches), and dog or fox (oval paw prints with claw marks).
Activity 2: Build an Epic Snow Fort
Forget the pile-and-pack method. This one uses real bricks.
- Make snow bricks. Pack snow tightly into plastic storage containers or shoe boxes. Turn them upside down and tap out solid bricks.
- Lay the first row. Arrange bricks in a curved wall shape. A semi-circle works well for a fort you can hide behind.
- Stack the layers. Offset each row so the bricks overlap like real brickwork. Pack loose snow into the gaps for mortar.
- Build two walls about 5 to 6 meters (15-20 feet) apart if you’re setting up for a snowball fight.
Activity 3: Play Snow Golf
- Make the holes. Push a medium-sized bowl into the snow to create nine cup-shaped holes spaced apart in a loop or scattered across the yard.
- Make snowballs. Each player gets a snowball as their “golf ball.”
- Play the course. Throw your snowball from the first hole toward the second. Count how many throws it takes to land in each hole. Work your way through all nine. Lowest total throws wins.
Activity 4: Decorate a Tree with Snow Ornaments
- Wrap string around small twigs to create hanging loops.
- Pack snowballs around each twig. Press firmly so the snow holds.
- Decorate. Mix food coloring with water in a spray bottle and mist the snowballs with color. Press in natural materials like leaves, seeds, berries, or acorn caps.
- Hang them. Loop the ornaments onto tree branches. They’ll last as long as the temperature stays below freezing.
Activity 5: Build Snow Creatures
Snowmen are classic, but why stop there? Build snow animals.
- Pick an animal. Owls, turtles, rabbits, bears, and snakes all work with snow.
- Sculpt the basic shape. Pack and mold snow into the body. A low, wide mound works for a turtle. A tall cylinder works for an owl.
- Add natural details. Use sticks for legs or antlers. Leaves for ears or wings. Acorns or berries for eyes. Stones for a nose. Dried grasses for whiskers.
- Get creative. A snow caterpillar is just a line of snowballs. A snow snake is a long packed tube. A snow octopus is a dome with eight rolled arms.
Activity 6: Make a Snow Slushy
- Collect fresh, clean snow in a large bowl. Only use snow that just fell, and scoop from the top layer, not from the ground.
- Thaw some berries. Frozen strawberries, blueberries, or raspberries work great. Let them soften slightly.
- Mix. Combine the snow, berries, a sprinkle of sugar, and a splash of cream or fruit juice. Stir gently.
- Eat immediately. Snow slushies melt fast, so enjoy them outside while they’re still frosty.
Grownup help needed: All activities are safe for kids with basic outdoor supervision. The snow slushy requires grownup judgment about snow cleanliness (use only fresh-fallen, top-layer snow away from roads and animals).