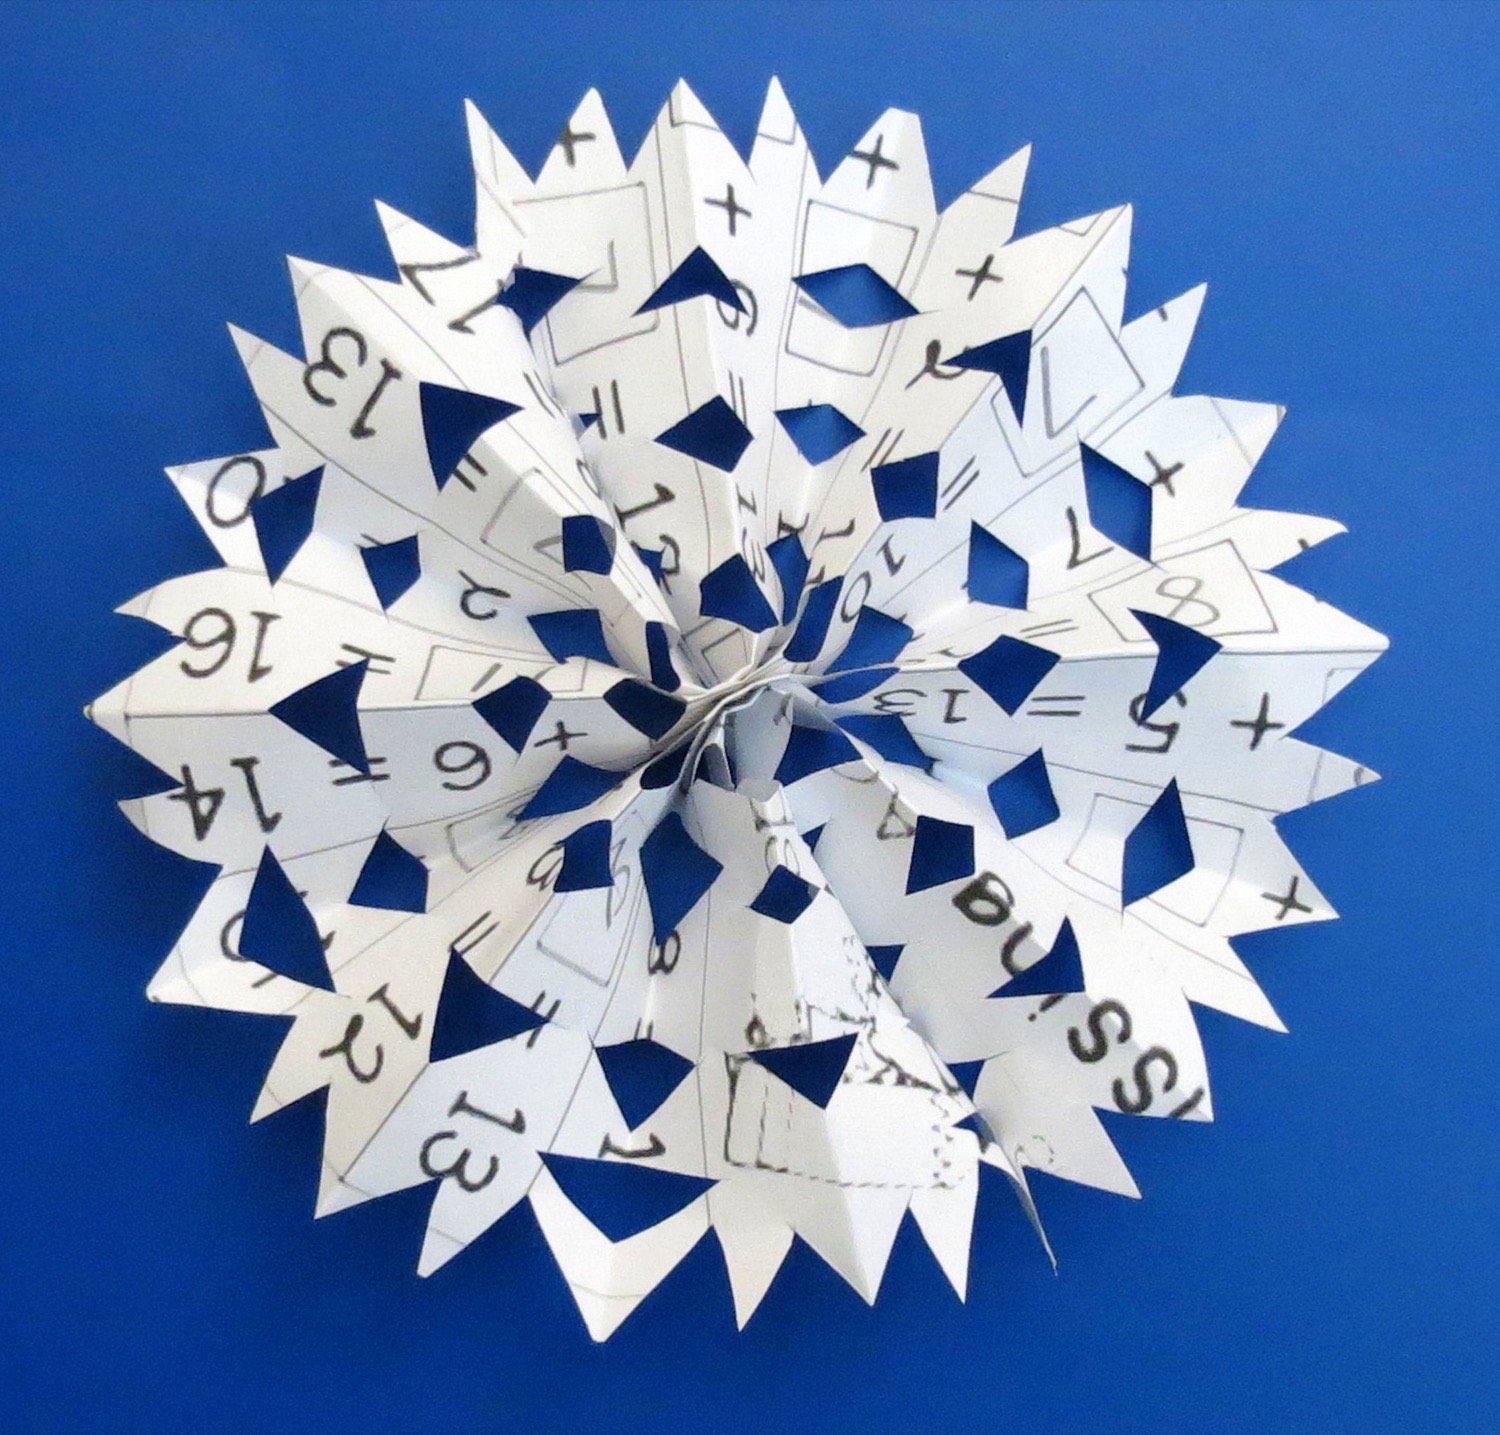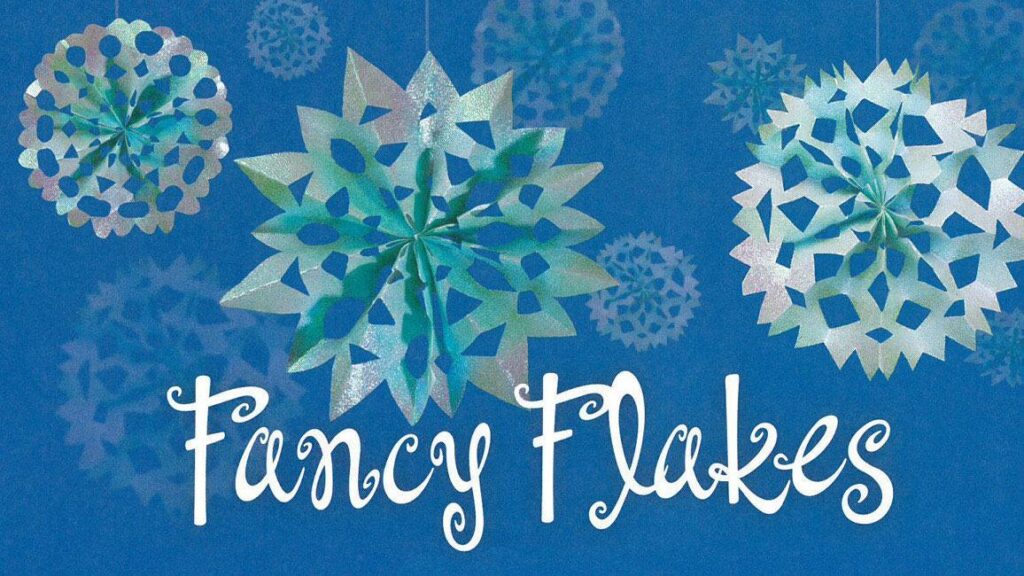
These paper snowflake patterns use an accordion-fold technique that creates stunning, circular designs you won’t get from the usual fold-and-cut method. Cut them from white paper for a classic look, or use colorful construction paper, recycled homework, or gift wrap. Hang them in a window, tape them to a wall, or give them as winter gifts.
Materials
Supplies:
- Paper (white copy paper, construction paper, or gift wrap)
- Ribbon or string (for hanging)
- Snowflake patterns (optional)
Tools:
- Ruler
- Pencil
- Scissors (grownup help needed for younger kids)
- Stapler
- Glue stick or tape
No special paper needed. Copy paper, notebook paper, or even old school worksheets work great. The recycled paper gives snowflakes a fun, textured look.
Steps
- Cut your paper. Start with a piece of paper measuring about 6 inches by 10 inches. You can use a ruler and pencil to measure and cut, or just eyeball it. The exact size isn’t critical, but a rectangle works better than a square for this technique.
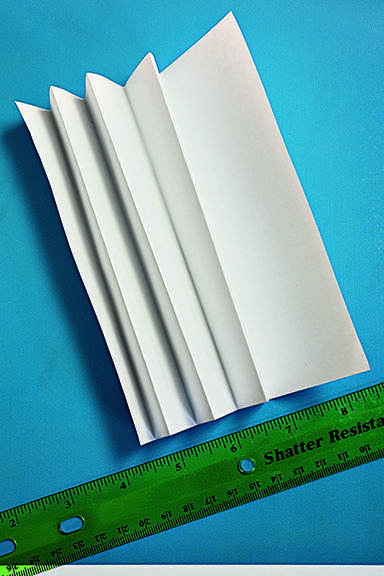
- Make accordion folds. Starting at one short end, fold the paper up about 1 inch. Flip the paper over and fold up another inch. Keep flipping and folding, creating a zigzag pattern that looks like a fan or an accordion. Try to keep each fold close to the same width. If the last fold is uneven, trim it with scissors.
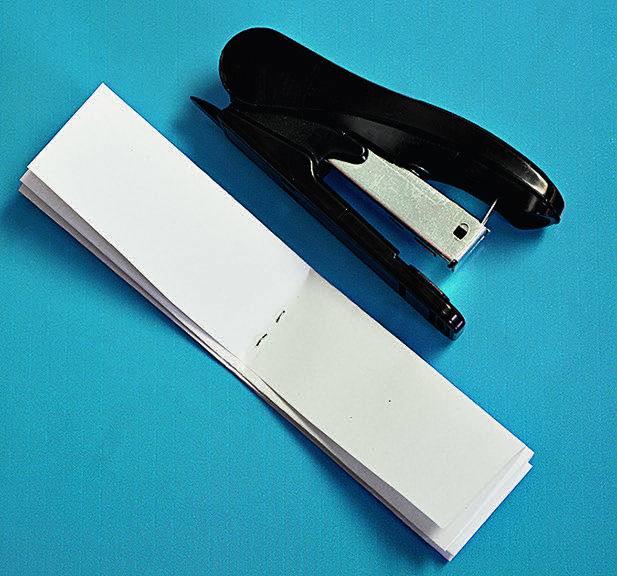
- Staple the center. Pinch the folded strip at its midpoint and staple through all the layers. This staple holds everything together and becomes the center of your snowflake.
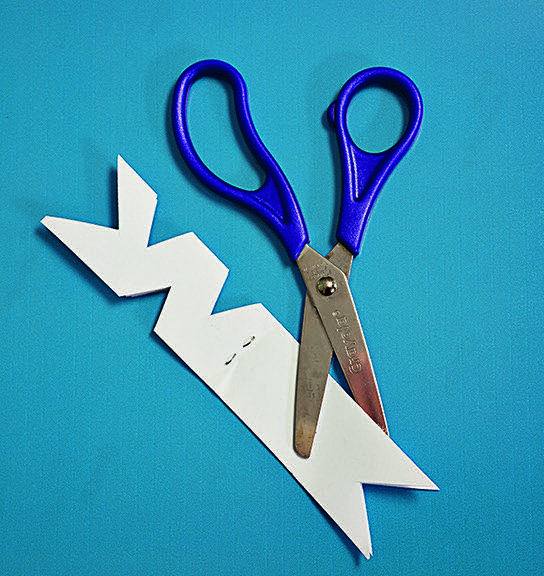
- Draw your pattern. Using a pencil, draw a design on one half of the folded strip. The pattern should be symmetrical, meaning whatever you draw on one side of the staple should be mirrored on the other side. Start simple: try triangles, half-circles, or zigzag lines cut into the edges. The shapes you cut away become the open spaces in your snowflake. You can also use our patterns.
- Cut along the lines. Use scissors to cut out the shapes you drew. Cut through all the folded layers at once. This is the step where the magic happens, so take your time.
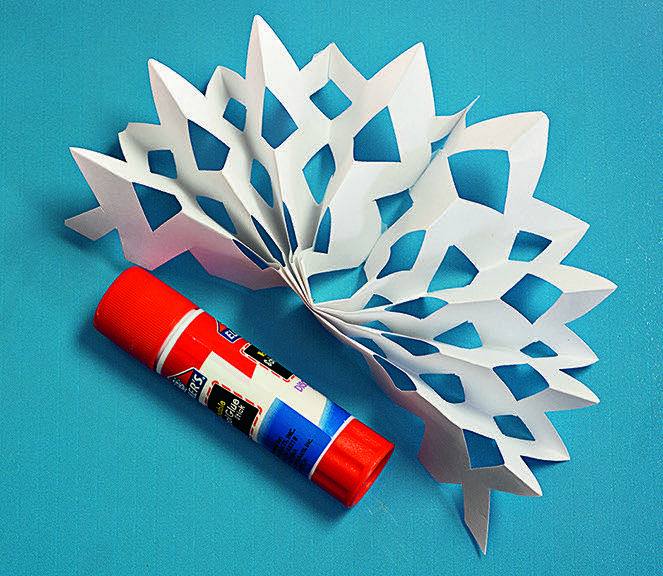
- Open it up. Carefully fan out the pleats on both sides of the staple. Bring the two outer edges together and attach them with a glue stick or piece of tape to form a full circle. Your snowflake should pop into a round, lacy shape.
- Add a ribbon. Thread a piece of ribbon or string through one of the cut-out holes near the top edge and tie a loop for hanging.
Grownup help needed: Younger kids (ages 4-6) may need help with the accordion folds and cutting through multiple layers. The stapler step is also easier with adult hands. Kids of all ages can draw patterns and do the final opening and decorating.