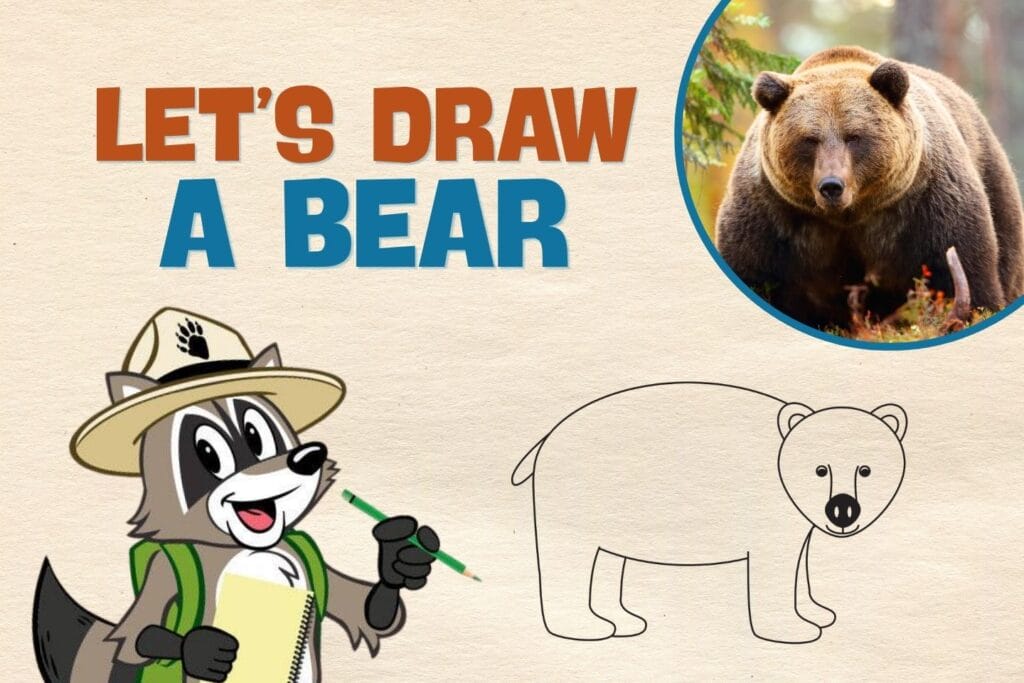
Want to learn how to draw a bear? It’s easier than you think. With just four steps, you can go from a simple shape to a bear that looks ready to walk right off the page. Grab a pencil and some paper, and let’s get started!
Materials
- Paper (any kind works)
- A pencil
- An eraser
- Crayons, markers, or colored pencils (optional, for coloring your finished bear)
That’s it! No fancy supplies needed. A regular pencil and a scrap of paper are all it takes.
Tips
- Draw lightly at first. Use soft, light pencil lines for your basic shapes. You can darken the lines you like and erase the ones you don’t.
- Look at real photos. Pull up a photo of a black bear or grizzly bear and compare it to your drawing. Notice where the eyes sit, how big the ears are, and how thick the legs look.
- Don’t erase too much. Every artist’s first try looks a little wobbly. That’s normal! The more bears you draw, the better they’ll get.
- Try different poses. Once you’ve mastered this standing bear, try drawing one sitting, walking, or catching a fish.
- Ages 4-6: Focus on just Step 1 and Step 2 to make a simple bear shape. Add googly eye stickers and a pom-pom nose instead of drawing the details.
- Ages 7-9: Follow all four steps. Try drawing the bear in different colors to make different species.
- Ages 10+: Challenge them to draw from a real bear photo instead of following the steps. Compare how a grizzly’s shoulder hump differs from a black bear’s flatter profile.
- Short on time? Steps 1 and 2 take less than five minutes and give you a recognizable bear shape. Add details later if you want.
- Indoor/apartment version: This is already a perfect indoor activity! Spread out at the kitchen table, on the floor, or even in the back seat of a car.
How to Draw a Bear Step by Step
Step 1: Draw the Head
Start by drawing a rounded shape for the bear’s head. It should look like a wide, slightly flat circle. Add two small, rounded bumps on top for the ears. Don’t worry about making it perfect. Real bears have big, round heads, so a little lopsidedness actually looks more natural!
Step 2: Add the Body
Now draw a larger shape behind and below the head for the bear’s body. Connect it to the head so the bear looks like one solid animal. Add two thick, sturdy legs coming down from the body. Bears have stocky legs, so make them nice and wide.
Step 3: Draw the Face and Details
This is where your bear starts to come alive! Add two small, round eyes near the middle of the head. Draw a rounded snout (the nose and mouth area) that sticks out slightly from the face. Add a round nose at the tip of the snout and a small line for the mouth. Add a tail and two extra legs.
Step 4: Finish with Fur and Shading
Now give your bear some personality! Add small details like the inner ear shapes and toes on the paws. Add short, sketchy lines along the edges of the body to suggest thick fur. Darken the nose and eyes. Add a little shading under the belly and between the legs to make your bear look three-dimensional. If you want, color your bear in brown (for a grizzly), black (for a black bear), or even white (for a polar bear)!
Grownup help needed: None! This activity is completely kid-powered.